Showing posts with label hexies. Show all posts

Thursday, 20 February 2014

Purple, rain


We’re having a quiet half term, full of tea parties, games, coloured pencils, short walks, and visits to the library and playground. Little Flower has eaten most lunches under the kitchen table, pretending she’s Mrs. Tittlemouse. And now she’s wearing fairy wings, leaping from chairs in absolutely sincere attempts to learn to fly. I *love* childhood.


We all feel like real homebodies, snuggling under blankets and being generally lazy. Perfect conditions for crochet!


Purple is the shade of the moment here, with 10 more royal-hued hexies nearly complete.

I’m making swift progress on my purple scarf (that is, when I actually pick it up and work on it, the rows whip up super-quick)...


However, I’m starting to wonder what I’ll do with the edges to girly it up a bit. Remember, this is actually another Manly Scarf, I just enjoyed the stitch so much, and I loved this richly coloured yarn, that I decided to make one for myself.


But I’m a girly girl, and I need something to prettify the ends. I’m not one for tassles or loose strands of yarn hanging down. I’m considering little pom poms, like those found at the lovely creJJtion, but will it work with chunky yarn? Hmmm...scalloped edge? Flowers? Suggestions please!

You’ve seen the purple, now here’s the rain:


Ugh. That’s not pretty. Here’s rain with an orchid:


Still grey and rainy, but at least a bit more elegant...

Welcome to my new followers this week! I suffered some internet glitches this week, so I'm still catching up on your latest blog posts, bear with me! 

A big thank you to all the wonderful comments on my last post. I read and treasure every one of them!

Please link up your latest crochet projects below...

Chrissie x

Thursday, 31 October 2013

Bloomin’ CAL and Happy Halloween!


I’m afraid my hexies have gathered a few cobwebs this week...


A combination of half term and Halloween meant that I only got three more hexies completed. Oh, but I did manage to finish this lovely project:


My snood is finished! I tend to finish a scarf or cowl-type project by trying it on partway through and not by following the pattern. Usually the pattern is designed for someone a bit taller than five feet, so unless I measure it to me as I make, I’ll end up with a scarf that could double as a blanket...


So I pinned the snood last night and tried it on and it just seemed to be the right size for me. Ta dah! And now that I know it’s a very easy project and turns out well, I can make some for gifts. (Luckily, I still have enough of that gorgeous Drops yarn to make a pair of mittens or a hat!)

In the meantime, we’ve just come back from the first Halloween party of the day, for the little ones...


Talk about a feast! They dined on witch’s broomsticks, pumpkin-shaped sandwiches and cheesy puff pastry bats, amongst other goodies. A friend and I joined up to throw a party for our young ones – thankfully she offered her home as I have a trick-or-treat party and sleepover happening here later...
We both had lots of decorations to share. I was in charge of some veggie snacks, which took the shape of a pumpkin head


...and lots of sugar cookies to decorate and gobble up! There were cats, rats, bats and creepy spiders!


I also made larger pumpkin cookies and a few ghosts for the children to decorate with orange icing and all sorts of sweets!


Now I’m off to prep the food for the next party, a decidedly scarier affair for the older kids! Happy Halloween everyone! Please share your latest hooky WIPs below, I’ll enjoy reading them when I’m up late tonight listening to sleepover giggles down the hall...


Tomorrow I’m dusting off that pink hook and getting back to hexies!

Chrissie x


Thursday, 24 October 2013

Bloomin’ CAL: How do you hook?

Hello hello hello to the newest members of the Bloomin’ Crochet-A-Long! Ladybird Diaries and I are so happy to have you with us, whether you are following along quietly or are posting and linking up with our endeavours.

This week I’m curious to know how you go about projects involving numerous hexies, flowers, granny squares, etc. Do you crochet one at a time, changing colours as necessary, or do you crochet a bunch of centres, then proceed to do a wave of second colours on each one, like a hooky assembly line?


I’ve been following a few bloggers who do different methods, and I’m curious why you choose to work the way you do!

So far, I’ve been content to work one hexie blossom at a time. I like watching the little sweeties build up the petals and the lovely cream edge. I like snipping the yarn of each finished one and laying it down flat and admiring it. A teeny project complete.


However, I have a sneaking suspicion that this is because it is still very early days with this blanket. I am in the honeymoon period, where I am still enchanted by the candy colours. I find every round a joy. Ask me how I’m feeling at hexie 47 of 114...

Which prompts me to ask if you ever change your method partway through a project? Or perhaps shove the lot in a basket and leave it for a bit? I find I’m constantly seduced by new patterns. Hence this CAL, to keep my focus! Are you a fickle hooker?

And speaking of fickle, the little snowflake in the latest Simply Crochet magazine caught my eye...


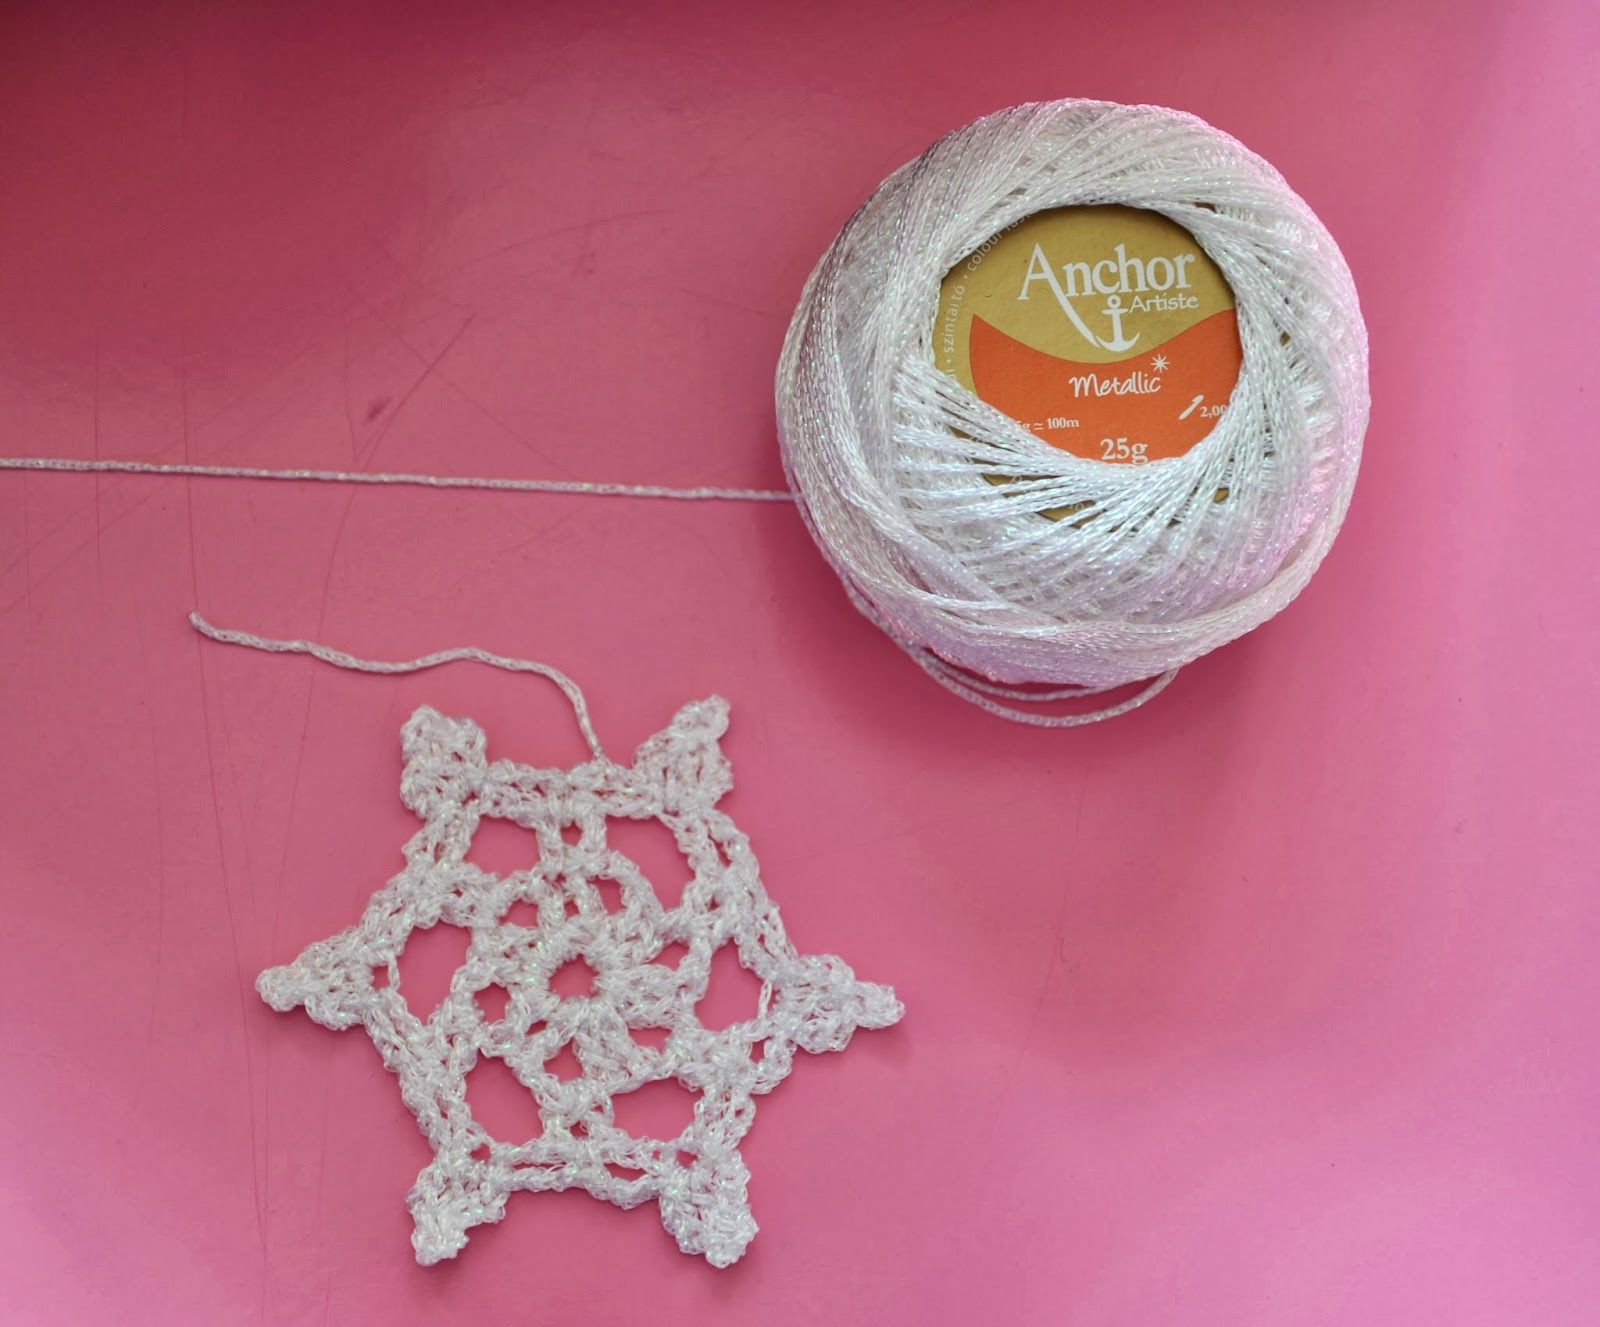
I spotted this very pretty sparkly thread at a haberdashery earlier this week, and I knew straight away that I wanted it for snowflakes. The shimmer in it is from a clear, plastic-like thin thread woven into the shiny cotton strand, so it sparkles without having an actual metallic thread that is obvious to the eye. I used a size 2 hook, it is quite delicate going, but I’m pleased with the result. I’ve blocked it, but I might play around with starching or something to make it a bit stiffer. Garland is the obvious use, but I am considering making more and sticking them to plain brown gift tags as Christmas labels. This one is smaller and more fragile than the snowflake in the magazine, which was worked in proper yarn.

And I just couldn’t end a crochet post without showing you the progress with the snood:

mmmmm...
Welcome to my new followers, and a huge thank you to everyone joining in the CAL, I am so happy to have so many enthusiastic, lovely people happily hooking up with us! Link up below...

Chrissie x


Sunday, 6 October 2013

Stitching Sunday: More ways to display

Hello to you all and a special welcome to my new followers! Before I start musing about embroidery, I want to say a special thank you to everyone who sent emails, hit the ‘Like’ button and commented on my “Reader of the Week” accolade on Simply Crochet’s blog and Facebook pages. That was an unexpected and very pleasant surprise for me!

And while I’m still on the topic of crochet, I happened upon a very sweet combination of crochet and embroidery...


A crochet border for embroidery hoops! How happy is this? I just did a bit of the hoop to test the pattern. This beautiful idea came from Sew Chatty. She offers a clear and easy tutorial for hooking a scalloped border around a hoop.


This is the scalloped edge – but once you tackle her instructions for the first row, I think you could use any number of borders. I envisage a cute picot edge, perhaps a granny chic ruffle, colourful stripes to echo the embroidery...hmmm, I see a wall of wee little embroideries for children, with candy-coloured crochet borders...uh oh, I can tell this could become an addiction!

In my online travels I also found some simple magnetic discs which will clearly frame embroidery on the fridge, the microwave or anywhere you can stick a magnet.


Framecraft magnets come in various sizes and can be found in many places online. These could make great gifts for family members, teachers, those of you who collect fridge magnets...

Now to some unfinished business. My Hive Sweet Hive embroidery. I was all ready to frame it and dub it a Finished Object, but then I spied a little bag of fabric scraps, and the cogs started turning.


I have no idea where this is going, or how this will end up, but I decided I wanted little hexies around my beehive. I’ve chosen pastels and florals because this will end up on a wall in my kitchen, which is soft green and cream with pinks.

As I stitch these wee hexies, I’m not sure whether I’ll surround the entire hive, whether the hexies will just peek out at the edges, perhaps run parallel in two even rows...I could cut the hive into one large hexie and stitch it onto the small hexies...I’m just going with the flow and hoping something sings out to me. I would love any input, please brainstorm with me!

That's all for today; I didn't achieve as much embroidery this week as I wanted because, well, life just gets in the way sometimes, doesn't it? 

Happy crafting and enjoy the rest of the weekend! 

Chrissie x


Thursday, 3 October 2013

Kicking off the CAL...


Ta-dah! My first hexie for the Hexagon Throw is done! Ah, but please, do hold your applause...I have 113 more to go...

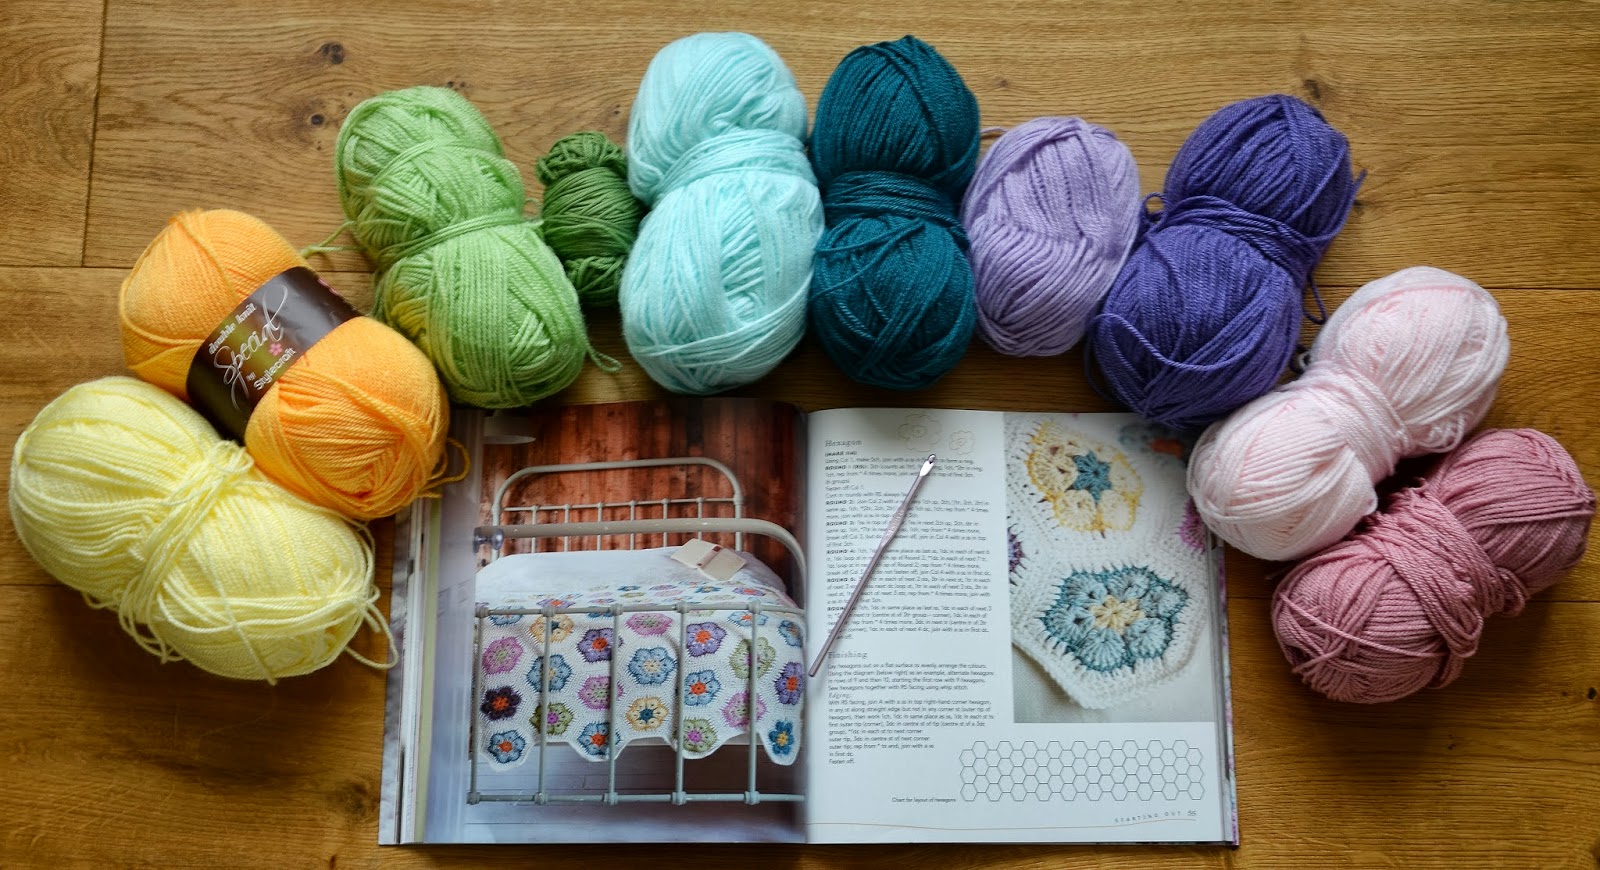
Ladybird Diaries and I are officially kicking off our Bloomin’ Crochet-A-Long today! We are both working on the Hexagon Throw from Cute & Easy Crochet with Flowers. I really love the colours Nicki Trench used in her book, and thankfully, I had all but two of the colours in my stash:


See the ball of yarn with the label still on? I bought that plus five balls of cream-coloured DK yarn (I couldn't bring myself to use a very bold orange shown in the book, it's just not my thing with all these pastels). The rest I had in my stash (you might recognise a few from my Blossoming Bag, they fit the palette of the blanket nearly perfectly!).

Here is your Lazy Crochet Tip of the Day: weave in ends with a smaller hook.


I have decided, for the sake of my sanity, to take the time to weave in the ends after every hexie. I cannot face a stack of more than 100 hexies with billions of ends to weave.

But even weaving in as I go makes me grumpy; I really don’t know why I find it so tedious when I quite happily embroider teeny weeny stitches for Stitching Sundays...but we’ll psychoanalyze that quirk another day. 

Instead of threading a tapestry needle repeatedly with the tails, I grab a crochet hook a few sizes smaller than the one I’m using for the project...


...tuck it under a few loops...


...and pull the tail through. Repeat one or two more times in whatever direction hides the tail best. Sorted.

Same goes for the other tails.


A few snips of the ends and you have a neat piece of work!

What’s on your hook? Grab the button and play along!

Chrissie x