Thursday 30 May 2013

New life to old patterns

I’ve had something on my crochet hook for a little while that I’ve wanted to share with you, but it is a present and I need to keep it a secret. But the gift recipient is on holiday at the moment, so I can give you a sneaky peek...

If you are pregnant and you know me, stop reading right now! Otherwise, carry on...
Given that I’ve just stated that the gift is for a pregnant friend, you can guess what this will be...

...a pretty, soft, snuggly baby blanket. My friend is an avid quilter and all-around creative, crafty person, so something homemade, preferably crocheted, was a given. She crochets granny squares while waiting for her appointments with the midwives, so anything granny was out. I started perusing some old crochet pattern books handed down to me from various family members and friends, and I happened upon this page


Now, one skill that I’m realising is key to craft is *vision*. You have to be able to see a pattern in your imagination, made with colours and textures perhaps wildly different than what is in front of your eyes. The photo from this book is dated – I’m sure at the time that it was printed it was utterly charming and adorable (it really actually isn’t that bad now, but this image doesn't do justice to the cheesiness of the actual page! It is just a tad OTT with the very acrylic baby blues and baby pinks and twee photo layout) – but look beyond the colours and setup and you can see the design is very pretty.
I’ve had fun, developed skills and learned a lot from altering a pattern, changing yarn for garden twine or adjusting sizes to fit my vision. With a little creative thinking, you can update all those old craft books at the library or charity shops. And there are some doozies out there!

For the baby blanket, my vision wasn’t terribly different, I just updated the pattern with a new colour and softer, more natural, less squeakily acrylic yarn. I know the baby’s room colour is soft green, so I chose Sirdar Snuggly baby yarn in a muted apple green. I am really enjoying the clustered shell pattern, especially how it is raised a bit in waves.

This is accomplished simply by crocheting in back loops only with every returning row, so the shells lift a bit. Pretty!


See the book? Ah, the glorious red and black combo, the model’s pensive pose...so effortlessly stylish, eh? I love thumbing through books like this. Check this out, towards the back of the book


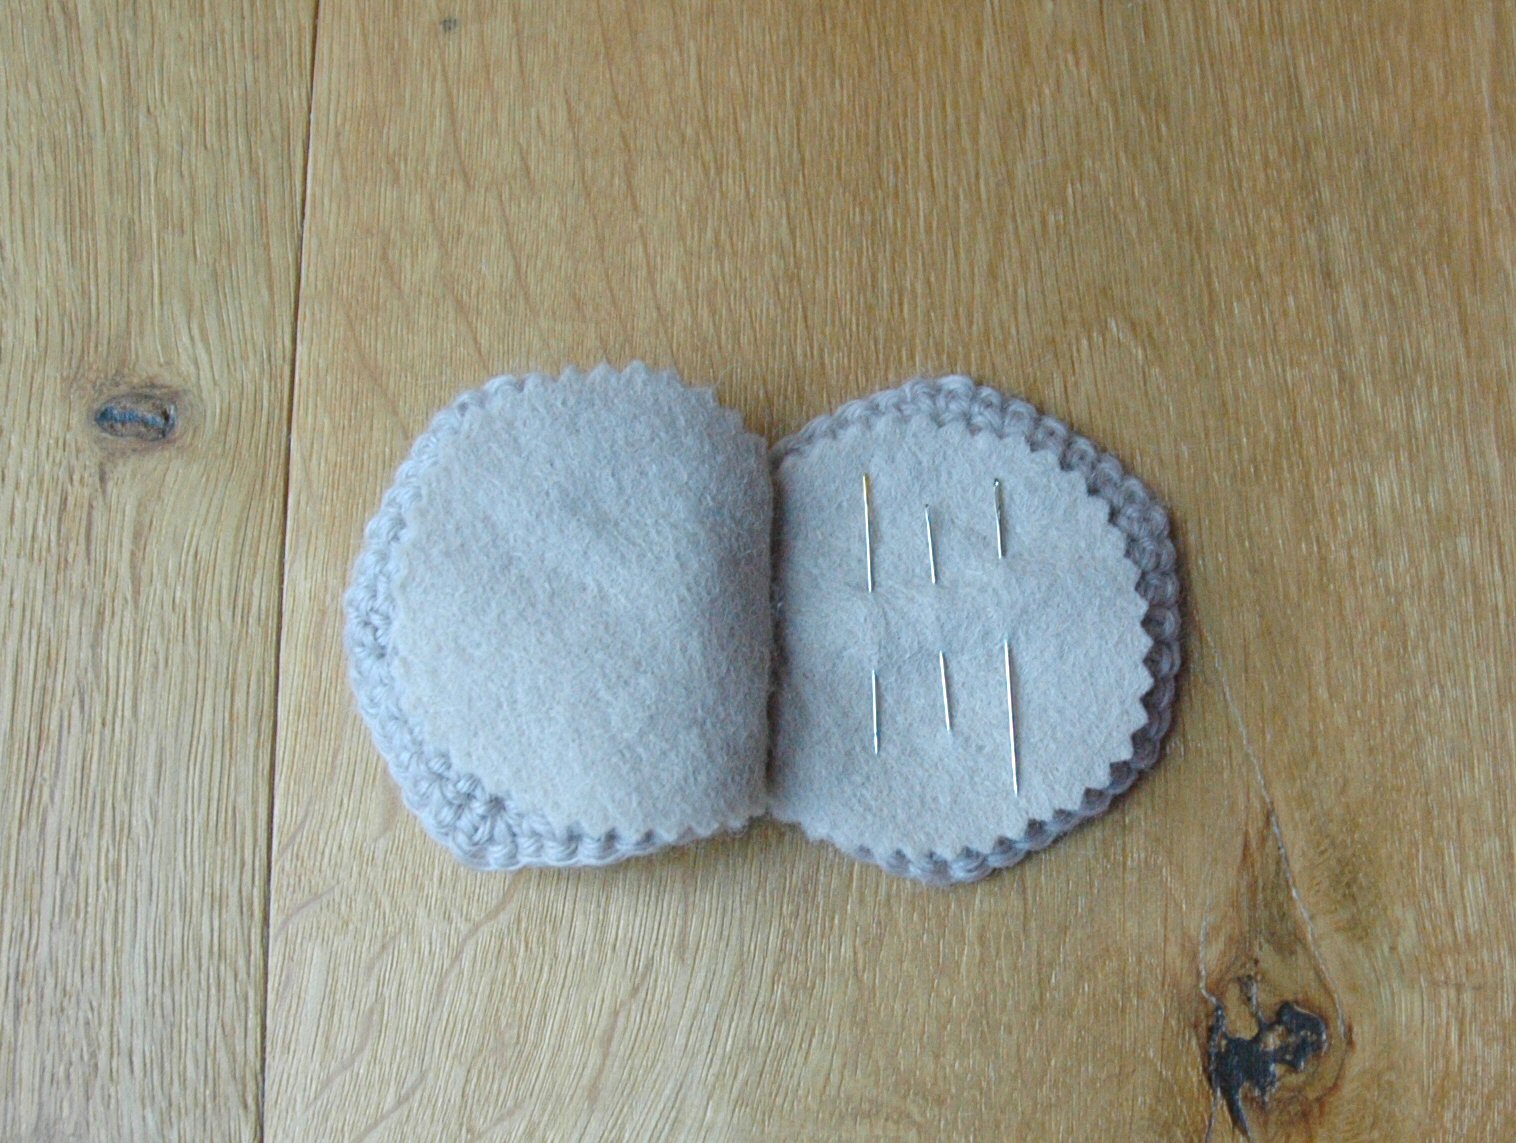
This is borderline Tacky Craft for me. There is a fine line between Kitsch Chic and Tacky Craft. But look more closely...I like the pattern of the mat, perhaps a less frilly border? Just one colour, to showcase the texture? What if it was made with a neutral string or fine twine, or with a yarn in a green shade like the blanket (which happens to match my kitchen)? I might make the coaster to test some ideas.
I’m at that point with the blanket where I realise the baby is due in late July and I have more than 90 rows to go, then the picot edging. EEEK! But perhaps that’s why I’m telling you about it now, so I am held accountable and will get it done in time. Hmmm.

Speaking of gifts, have you seen what Jooles has made for Bunny’s teacher?


I always make homemade cookies for teacher gifts, presented in a pretty cake tin, or with some lovely tea towels – something other than mugs, candles or hand creams. But Jooles and I got talking about teacher gifts, and she has created the sweetest teacher supply pockets, perfect for glasses, pens...and treats! You can read about how they came to be here, and they are available at her new shop at Not On The HighStreet – girl has made the big time, woo hoo! I am so proud of her, and I am so glad her exquisite attention to detail is appreciated and desired by the likes of NOTHS. Check it out!
Time to refill my teacup and get a few more blanket rows completed...happy crafting!

Chrissie x

Tuesday 28 May 2013

An edible garden

What a glorious weekend! As so many in Blogland seems to be posting about the beautiful blooms in their gardens, I feel obliged to show a bit of our garden.

The combination of sunny weather and Grandma here to play with the girls gave me, finally, some time to catch up and clear up in the back garden. Just when I was about to campaign to make Ground Elder a garden feature, the temperature and sunshine cooperated to allow me to weed it out!
Growing up in a distinctly non-gardening family, I have no experience with plants and flowers. I was eager to learn, but overwhelmed by the information, resources and choices available to the keen gardener. Where to begin?

So I decided the best way to start, and stay interested, was to be able to eat my garden! I focused on herbs, which fascinate me with their vast culinary uses and histories, and I transformed the raised border around our patio into a kitchen herb garden.

Chives about to burst into bloom
One of my great pleasures in life is to be cooking dinner and just pop out the back door to snip a few herbs to toss into the pot.

Robust bay in the sunshine
The raised border has a bushy bay at one end and some rosemary shrubs that are getting a bit out of hand and need a good haircut


Trailing rosemary peeking out of the shade

I use so many of these herbs year round, only a few actually die out in the winter.

Thyme in flower behind the chives
Thyme is my favourite herb. It is so versatile, I add it to everything – veg, meat, fish, chicken...I even have a recipe for sweet thyme cookies – and I have at least five varieties in the border. But at this point I’m not sure which thyme is which (“What thyme is it?” har dee har har), but they each flower at a different time, giving me a blooming season well into summer.

The raised border also houses oregano, savoury, sage...Sweet Woodruff in the shady bit

Sweet Woodruff with rosemary popping over from next door
This herb dries beautifully and makes a super natural closet freshener – it smells like fresh hay and lends a sweet, summery outdoor scent to dark closets.

And we have sweet wild strawberries that flower and ripen a few times a year


Next to the strawberries, and yet to pop up, is sorrel, Bunny’s favourite. It tastes like Granny Smith apples and is great in salads. Bunny loves the tart fresh flavour and nibbles it like...a bunny.
(Note that all my garden plantings are perennial – my life isn’t conducive to annual spring planting season and digging-up time in the autumn!)

Running parallel to the raised border, in the garden beyond the patio, is a second herb border. Here I have larger plants, like the frothy bronze fennel

Bronze fennel, which will grow to about five feet tall, with oregano plants to the left
Sweet cicely looks similar to cow parsley but has a light aniseed flavour. It is a terrific addition to cut down on sugar in certain recipes, like stewed fruits and crumbles.

Sweet cicely, and just peeping up at the left are leaves of marsh mallow

There’s also lavender, dwarf oregano, yarrow, marsh mallow, bee’s balm...and who could call themselves a herb gardener without those invasive, gorgeous mints and lemon balms?


Can you tell which is which?
These brazen, heady herbs make the most novice of gardeners feel like they have great green thumbs, it is impossible to kill them! And nothing is as lovely as a tea made from freshly-picked leaves...

So there you have it, a peek into my edible garden. There are some lovely “weeds” blooming in the lawn, too

 
Bunny picked a buttercup and held it under my chin, checking to see if I liked butter. Little Flower, who had never seen this age-old game before, picked this...


...held it under my chin, and said, “Mummy, let’s see if you like chicken pie.”
Now that it is raining again, we’re all indoors and my WIPs are calling to me...which first? I’d love to make progress on my first quilt, but the Dr. Seuss stitching is so fun...

Happy crafting!

Chrissie x


Sunday 26 May 2013

Do you like green eggs and ham?

One of my favourite children’s books, when I was young and now for my children, is “Green Eggs and Ham” by Dr. Seuss. I remember reading it for the first time as a little girl, intrigued by the story of someone intimidated by trying something new.

Isn’t it fun to try new things! I love discovering new flavours, and I suppose that extends to life in general – seeing new places, meeting new people. There is so much to experience in this great big world, and so many friendly people who want to share their stories and creativity. I think Dr. Seuss was encouraging children to be adventurous and not judgmental – not just with food but with life – when he wrote this book.
I was reading this story to Little Flower a few days back, and an idea sparked.

Reading in the dappled sunlight of the garden
 
I found a scrap of white linen, grabbed my fine-pointed Sharpie pen, and got down to business.


I have at least four embroidery projects in the works...wait, five, I just thought of another...but I opened the book and just wanted to stitch a little testament to keeping an open mind.
I’m not sure if my embroidery skills are up to this project, with all that fill stitching, but I’ll keep you posted with my progress, warts and all! This will be a good learning project, I suspect...

I’m lucky that my children aren’t picky eaters. I don’t have to find kid’s menus when we’re out, and they usually try new foods without fuss.
But ask any parent who has a child like this, and they are likely to say that it’s not just down to luck. An action plan for new foods has been in place since Bunny was a baby trying her first solids. I always encourage the girls to try new foods, and I have never treated certain foods as “yucky” – but I also have always given them the option of declining a new food if they don’t like it, after they have actually, properly tried it.

I don’t make a big deal about it. I just say, “Take a bite of this, if you like it there’s more, if you don’t, spit it out into this napkin. No big deal.” I mean really, what’s the worst that could happen? I’m not asking them to eat a poisonous sea urchin or anything, so it really isn’t a big deal. I know young palates tend to dislike bitter flavours, so I don’t serve them a bowl of boiled spinach! Nine out of ten times, the relaxed approach works wonders.
At age six, Bunny even tried escargot when we were in France, then said calmly, “It was chewy. I’m glad I tried it, but I don’t think I’ll have any more.” (I secretly think she just wanted to tell her friends she ate a snail while on holiday!) That was that, and she went on to eat a full meal of her own choosing.

My mother is visiting from America for the half-term holiday this week. Let the good times roll! Bunny and I are taking her shopping in London in a few days, and Bunny already is telling her grandmother about Yo! Sushi and her favourite dishes to grab off the conveyor belt...I think we’ll read “Green Eggs and Ham” to Grandma before we go!
Now I’m getting back to the red floss and that hat! Enjoy the holiday weekend!

Chrissie x


Wednesday 22 May 2013

My other addiction, and crafting it up

In the years B.C. (Before Craft), before the closet was heaving with fabric bundles and countless balls of yarn...before crochet hooks were tucked in the same drawers as pens...before an embroidery hoop sat on the bedside table beside a novel...

There was, and still is, my cookbook collection.

This lovely Ikea bookcase is heaving with 128 cookbooks (at last count). I have been addicted to cooking and reading cookbooks since I was quite young. I remember my first children’s cookbook, the bright photos and simple recipes. I set up my own restaurant for my family, typed menus on the typewriter (remember that old piece of equipment?), and served the finest egg salad, chilli con carne and ice cream sundaes I’m sure my family ever ate!


'A Year in My Kitchen' by Skye Gyngell, on the top shelf just right of centre, is my favourite of them all!
As a teenager I perused cooking magazines, wondering where I could find a sun-dried tomato and wanting to live in a big city to try all the ‘exotic’ ingredients. I learned how to chop an onion after watching chefs on TV, slicing horizontally through onion tears after practicing all those vertical cuts... 

The old cheese cupboard now houses table linens and tea towels...
When I was in my 20s and had my own flat, I would host dinner parties for my friends, making notes in my cookbooks about successful menu combinations. I remember my first sushi meal and how enchanted I became by cuisines from different cultures, from Italian to Thai, Scandinavian to Ethiopian. I read cookbooks like novels – they are testimony to an ethnic pride, love letters to garden and market bounty.
Oh how I wax lyrical about cookbooks! Now I love, absolutely love, cooking and baking for my family, teaching my children to try new foods and really think about what they are eating and enjoy family meals.

I have two new acquisitions to squeeze in to my shelves, we're at 130 now


The Unofficial Downton Abbey Cookbook was sent to me by a very dear friend in America, where the series has found a very devoted, passionate following (she is ever so jealous that I get to see the latest episodes first in the UK!). It promises to be a fun read. A great friend in my village has the other book, made me this recipe from it...


...and I went home and one-clicked it on Amazon straight away! Now we are doing a cook-a-long (similar to the quilt-a-longs and crochet-a-longs seen in blogland), where we try recipes from the book and share opinions and notes. This book promises to be a fave, packed full of seasonal recipes that are delicious, quick to prepare, actually fill a hungry appetite and still prove healthy. I will keep you updated, and feel free to join the cook-a-long!
But as I searched for a spot for these new books, I noticed the shelves look a bit tired. Hum drum. I have some crafty ideas swirling in my head, after seeing the gorgeous decoupage chair over at Ladybird Diaries...perhaps this bookcase would look sweet covered with floral paper? Wouldn’t the books seem even more enticing on a crafted-up shelf? What do you think?

Chrissie x


Saturday 18 May 2013

Bunny's 10th Birthday

My eldest daughter turned 10 yesterday. My little baby girl, whom I nicknamed ‘Bunny’ within a week of having her, because she was just so cuddly and warm and had that lovely innocent bunny stare, now has sparkly blue eyes and will be taller than me before too long!

As I mentioned in this post, we had a cinema-themed party. Well, it will be a series of parties this year – instead of one big party with a bunch of girls, we have broken it down to a series of get-togethers with special friends. Last night was the birthday sleepover.
 
Here is the birthday table for the three cool gals, with Hollywood stars and glitter all round. Bunny had requested a giant cookie to serve as her cake this year, but not satisfied with just one big round cookie, I made a cookie cake to top with candles.


A friend kindly lent me a 9-inch silicon cake mould in the shape of a patterned cookie, so I baked two and sandwiched them with buttercream frosting.
The giant chocolate chip cookie recipe came from here and made four of these, so I have more for upcoming birthday playdates! But I had never made the recipe before, and I had never used the mould before, so the first one of course came out like this


Not very well done in the middle, and it stuck to the mould. I popped it back in the oven for a few minutes, then turned it over to be the bottom of the cookie. Sorted!
The next layer turned out much better, you can just see the little floral pattern

 
I sandwiched buttercream frosting in the middle, then sprayed the top with Dr. Oetker’s edible gold Shimmer Spray, which is my new favourite baking bling. Topped with 10 gold and silver candles, it was well appreciated by the party gals!


Continuing the cinema theme, Bunny wanted to watch a movie as part of the sleepover. We made it more special by moving our flat-screen television into her bedroom, and covered the floor with mattresses, bean bags, pillows, blankets, duvets – in short, the entire room was converted into a nest with a big screen!
The red carpet was rolled out to lead the girls to Bunny’s room


And how tickled they were when they opened the door and saw the transformation!


After dinner, cookie cake, crafts and general mayhem, it was time to settle down to a film. I offered to make some popcorn as they nestled in amongst the cushions.


This year’s silly cake surprise took the shape of popcorn. Mini cupcakes topped with frosting and clusters of mini marshmallows! I half-filled the popcorn boxes with tissue, then topped with the cupcakes. The challenge was the buttery popcorn. The inspiration came from the American book Hello Cupcake!, with mini yellow and white marshmallows cut into thirds and put on the cake in a clover shape, with a whole mini marshmallow stuck to the top.
But after I had decided I was going to make the cupcakes, I couldn’t find mini yellow marshmallows here in the UK. So I made my own, with white marshmallows, yellow food colouring gel and a paintbrush.


I know. I know. You don’t even have to say it.
Anyway, in the half-light of the Cinema Nest, I handed out the popcorn boxes. They were all fooled! Fits of giggles ensued, then silence as the gobbling of the cakes commenced.

Around 10.30 we heard whispers and footsteps in the hall as the girls tiptoed downstairs for their Midnight Feast. I had put together a basket of goodies to make it easier for them (and to save me clean-up of the aftermath of cupboard raiding)


Sweet dreams, young ladies!
I was asked yesterday how I was coping with Bunny turning 10. Friends were offering words of empathy. I know getting to the double digits is a milestone. I know that she will never be a little girl again.

But do you know what? Yesterday I was so very, very *happy*. I adore my girl, and I feel lucky for all the years she’s had and all that are to come.
I look back on her very young years and I feel such love, such deep love. I don’t feel sad, I don’t wish them back. I am grateful for every minute. We’ve had moments of profound joy, we’ve had moments of incredible madness. I have learned a level of patience I never thought possible in a human. I have learned an appreciation for life that is too often taken for granted.

In short, I have learned what an honour it is to be a mother.    
And yes, I know the dreaded teenage years are just around the corner, but I know we will get through them together, rain or shine. Rain and shine. I am excited to see who she is becoming, and I can’t wait to see who she will be.

Happy Birthday, Bunny!
Chrissie x

Thursday 16 May 2013

Tea and a biscuit

Cuppa tea, my friend? Oh, and would you like a chocolate chip cookie, too?

 
Here is my latest project, a teacup pincushion and cookie needlecase.

I first saw the teacup pincushion from a Lion Brand free pattern, but I didn’t like the shape, so I altered the pattern to make it my own. I kept the teabag idea, again altering just enough, and I’d like to share it with you here.
But I so love to have a cookie when I’m sipping my tea, so I came up with the cookie needlecase pattern. Wanna see how I did it?

First, the cookie:


Make two circles. I used a biscuit-coloured DK yarn and 4mm hook. You will also need matching felt, a dark brown felt for the chocolate chips, and thread or embroidery floss to stitch on the inside of the needlecase.
UK terms used here. This pattern works in a continuous round, so find a stitch marker so you don’t lose track...

Chain 2
Round 1: Work 6dc into first ch

Round 2: 2dc into each st around (12st)
Round 3: *2dc in next st, 1dc in next st; repeat from * around (18st)

Round 4: *2dc in next st, 2dc; repeat from * around (24st)
Round 5: *2dc in next st, 3dc; repeat from * around (30st)

Round 6: *2dc in next st, 4dc; repeat from * around (36st)
Round 7: *2dc in next st, 5dc; repeat from * around (42st)

Fasten off and weave in ends.
 

Next, fold the felt in half, and draw on a circle that measures just a bit smaller than your cookie circles (I used an old magnetic pin holder, which was just the right size – see in the photo below). Draw the circle so that one edge is on the fold – this will be the join of the two cookie halves.

Cut around the felt, leaving the folded edge. I used pinking shears for a zigzag edging.

 
Stitch the two cookie halves together with a length of the yarn, then open the needlecase and stitch on the felt with thread.
Finally, use a hole punch to cut wee chocolate chip circles out of the dark brown felt. I found that gluing them on was the easiest method.

Now, the cup of tea to go with that cookie:


Here you need a DK yarn for the cup, a tiny bit of tea-coloured yarn, an even teenier bit of white for the teabag, some pellets for the base of the pincushion to keep it steady, and some toy stuffing to fill the rest.
For the teacup:

With the cup yarn, ch2

Round 1: Work 6dc into first ch. Place a stitch marker in the first st from here on...
Round 2: 2dc into each st around (12st)

Round 3: *2dc in next st, 1dc in next st; repeat from * around (18st)
Round 4: Working in the back loops only (BLO), dc in each st around (18st)

Round 5: dc in each st around (18st)
Round 6: *2dc in next st, 2dc; repeat from * around (24st)

Round 7: dc in each st around (24st)
Round 8: *2dc in next st, 3dc; repeat from * around (30st)

Round 9: *2dc in next st, 4dc; repeat from * around (36st)
Rnds 10-14: dc in each st around

Fasten off and weave in ends.

Teacup handle:
This is a bit fiddly because you’re working in a tiny circle. Have patience, it will all be over very quickly!

With the cup yarn, ch2
Round 1: Work 4dc in the first ch

Round 2: dc in each st around (4st)
Continue repeating Round 2 until the handle measures about 5cm/2in long. Fasten off, but leave a long end for sewing the handle to the cup.


Tea:
Here I like to start with a magic ring because I don’t like a small hole in the top of the pincushion showing the stuffing beneath. But if you find magic rings too tricky, don’t worry, simply ch2 and work the first 6dc in the first ch.

Round 1: With the tea yarn, work 6dc into a magic ring
Round 2: 2dc into each st around (12st)

Round 3: *2dc in next st, 1dc in next st; repeat from * around (18st)
Round 4: *2dc in next st, 2dc; repeat from * around (24st)

Round 5: *2dc in next st, 3dc; repeat from * around (30st)
Round 6: *2dc in next st, 4dc; repeat from * around (36st)

Fasten off and weave in ends.
Here’s what you should have


Oh wait, we need the wee tea bag!


With the white yarn, ch5
Row 1: dc in second ch from hook and in each st across (4st)

Rows 2 & 3: Ch 1, turn, 4dc (4st)
Row 4: Ch1, turn, dc2tog twice (2st)

Fasten off, leave a long tail, then hook that tail and bring it up through the middle of the top of the teabag to stitch into the cup.
Assembling the cup:

Fill the base of the teacup with pellets of some sort – I used baking beans.


Fill the rest with toy stuffing, then top with the tea lid. Use the tea-coloured yarn to stitch the tea to the inside rim of the cup. Stitch the handle to the side. Finally, leaving the teabag hanging down a bit, stitch it to the top inside of the cup.


All this explaining has left me a bit peckish. I think I’ll go make a proper version of this tea n’ biscuit...
Any questions, comments or concerns, please don’t hesitate to email me! Happy crafting!

Chrissie x


Sunday 12 May 2013

Lampshade Workshop

Nothing boosts the creative mojo like a workshop with inspirational friends! Yesterday I attended a lampshade workshop at Eternal Maker in Chichester for a morning of crafty fun and inspiration. And oh, the fabrics! This shop is Heaven on Earth to me, Aladdin’s Cave, a candy shop...

First we snooped around the shop to find fabrics for our lampshades. I planned on making one for Bunny’s room to replace her ceiling shade, which needed updating. Here is what I made


How thrilled was I to find this panda fabric? Can you see them peeking out? Perfect for a nearly 10-year-old, cute but not little girlie. Finished off with a wee bit o’ kitsch, pom pom ribbon in her favourite colour.
The most awesome bit? Not one stitch needed, took next to no time (goes more quickly when you’re not chattering away with the gals, sipping tea and eating cookies!), and the kit costs £10.50 online. We all left with an extra kit to make another lampshade at home.

 
This morning I made a lampshade for Little Flower’s room. Here is the kit provided


And here’s what I added

 
This is one of Little Flower’s fitted cot sheets from when she was a baby. I found the ribbon in a drawer. Her room still has the curtains and various accessories that were bought with this sheet, so I decided to upcycle it to make a coordinating bedside lamp. My grandma had already used some of the fabric pattern to make some decorative cushions.
You won’t believe how easy this is! Unroll the self-adhesive lampshade panel and measure it against the fabric.


Cut the fabric to fit with a margin around the panel, then peel off the sticky side and adhere it to the fabric.


Trim the fabric, bend the sides where indicated, then peel off the panel edges.


The fun bit is winding very thin, very strong double-sided tape around the lampshade rings, lining them up with the fabric edges, and rolling away!


More tape inside the ring, then fold over those ragged edges and tuck under.


I decided to add ribbon trim to the top and bottom


And ta-dah!!! The finished lamp


Is this fantastic or what? Took about half an hour. Now I’m roaming the house to see what else needs a new lampshade...I see visions of small patchwork, one with appliqué and freestyle machine embroidery...oh me oh my!
You can buy these online here. Of course, I did supplement my purchase with a few fat quarters, a fabric bundle, some ribbon and a metre of fabric for an embroidery project...but I’ll show you those next time...

Happy crafting!

Chrissie x